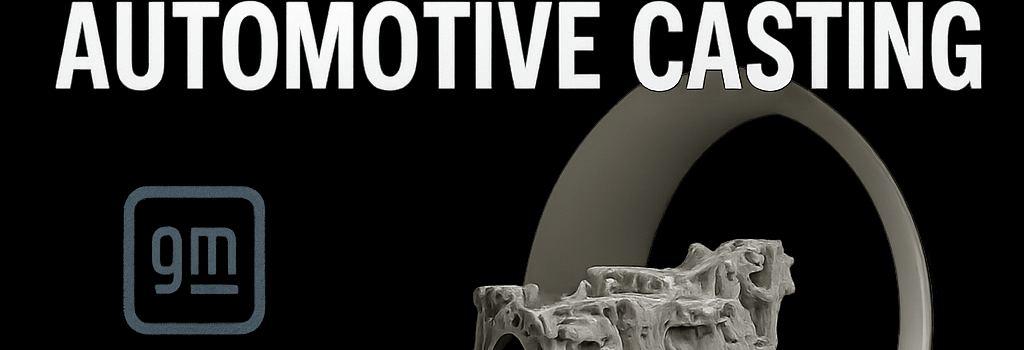
GM’s CT Scanners Revolutionize Automotive Casting

Introduction
General Motors has borrowed a page from the medical imaging playbook, deploying industrial computed tomography (CT) scanners—traditionally used for patient diagnosis—to inspect intricate castings in its automotive transmissions. By creating volumetric 3D images of aluminum and iron parts at sub-millimeter resolution, GM’s engineers can now detect internal voids, porosity and inclusions without resorting to destructive testing.
Medical Imaging Meets Automotive Manufacturing
“Just as a CT scan helps clinicians identify fractures or tumors without opening the patient, we use the same principle to ‘diagnose’ castings,” explains Ed Duby, GM’s Manufacturing Engineering Executive Director. Early in development, GM used 2D X-ray radiography, but the shift to 3D CT has accelerated root-cause analysis and enabled process corrections before tooling enters full production.
CT Scanner Hardware and Specifications
- X-ray Source: 160 kV, 200–300 µA microfocus tube delivering spot sizes under 50 µm for high geometric magnification.
- Detector Array: 2,048×2,048 pixel flat-panel, 16-bit dynamic range, enabling contrast resolution below 0.1%.
- Spatial Resolution: Down to 80–100 µm voxel size, sufficient to resolve micro-porosity and shrinkage defects.
- Throughput: 8–12 minutes per full rotation scan; batch loading allows overnight scanning of up to 50 castings.
- Compute Platform: On-premises GPU cluster (NVIDIA A100) for filtered back-projection and iterative reconstruction, reducing reconstruction time to under 2 minutes.
Data Processing and AI Integration
Once raw projections are reconstructed into volumetric data, GM employs an AI-driven pipeline:
- Segmentation via 3D U-Net convolutional neural networks trained on 10,000 annotated castings.
- Defect classification (shrinkage vs. double-oxide vs. gas porosity) with 95% precision/recall.
- Automated reporting to the PLM system and feeding real-time dashboards for process engineers.
“The more data we collect, the better our predictive models become,” says Mike Trevorrow, SVP of Global Manufacturing. “We’re integrating CT datasets into our digital twin framework to simulate fill patterns and solidification in software, minimizing trial-and-error.”
Impact on First-Time Quality and Development Timeline
By catching defects early, GM reports a 90% improvement in first-time quality (FTQ) during casting validation and a 33% reduction in development lead time. This translates to millions of dollars saved per new transmission family, faster ramp to production and fewer warranty claims downstream.
Expert Insights
Ed Duby: “Before CT, we physically sectioned sample castings, which could take weeks. Now we iterate in days, adjusting gating, riser placement or cooling channels in simulation.”
Dr. Lena Chen, Materials Scientist: “High-fidelity CT data allows us to correlate microstructure features to mechanical performance, guiding alloy chemistry tweaks in real time.”
Integration with Industry 4.0 and Digital Twins
GM’s CT-enabled workflow plugs into its broader Industry 4.0 strategy. CT scans, process parameters and thermal profiles feed a cloud-based digital twin of the casting line. Advanced analytics can predict equipment wear, schedule preventive maintenance and optimize furnace cycles.
Future Outlook and Challenges
While the benefits are clear, scaling medical-grade CT inspection to high-volume production poses challenges:
- Data Management: Each scan generates 5–10 GB; GM is architecting an on-premises data lake with tiered storage and retention policies.
- Model Drift: AI algorithms require periodic retraining as new casting designs and alloys emerge.
- Cybersecurity: Protecting intellectual property in CT datasets and AI models against unauthorized access is critical.
Looking ahead, GM plans to deploy inline CT stations capable of scanning entire engine blocks in under 5 minutes, powered by next-gen direct-conversion detectors and edge AI accelerators.